
Shopify’s Checkout Extensibility feature offers powerful capabilities to enhance and customize the checkout experience for your customers. Whether you’re looking to streamline processes, increase conversion rates, or maintain brand consistency, this guide will help you upgrade and implement Checkout Extensibility in your Shopify store.
Why Upgrade to Checkout Extensibility?
Upgrading to Checkout Extensibility allows you to leverage new tools and features to better tailor the checkout experience. Shopify provides a detailed report of your existing checkout customizations to ease the transition, even if you can’t replicate all previous customizations.
Step-by-Step Implementation Guide
Step 1: Review Your Existing Checkout Customizations
- Access Your Customizations Report:
- From your Shopify admin, go to Settings > Checkout.
- In the Upgrade to Checkout Extensibility section, click View personalized report to open a report detailing your existing customizations, including:
- Category of customization (e.g., Branding, Validations)
- Customization name and description
- Source file (e.g., checkout.liquid)
- Code lines where the customization starts and ends
- Guidance for recreating the customization in Checkout Extensibility
- Optional: Download the report as a CSV file by clicking the export icon.
- Learn About checkout.liquid Layout:
- Familiarize yourself with the checkout.liquid layout to understand the current structure and where customizations are applied.
Step 2: Review Thank You and Order Status Page Customizations
- Check Installed Apps:
- From your Shopify admin, go to Settings > Apps.
- Review apps that customize the Thank You and Order Status pages.
- Review Additional Scripts:
- Go to Settings > Checkout.
- In the Upgrade to Checkout Extensibility section, click View personalized report.
- Check customizations under the Thank You and Order Status pages tab.
Step 3: Create and Publish New Customizations
- Create a Draft Checkout:
- From your Shopify admin, go to Settings > Checkout.
- In the Configurations section, click Create draft.
- Customize Your Checkout:
- Add apps or edit your branding for the checkout, thank you, and order status pages. Learn more about customizing and editing your checkout.
- Set Up Pixels and First-Party Features:
- If using checkout.liquid for tracking customer events, replace it with Pixels before publishing.
- Review and set up any first-party features that support your previous customizations.
- Review and Publish:
- Thoroughly review your changes.
- When ready, click Publish.
- In the pop-up window, choose which pages to publish and confirm by clicking Publish.
Optional Enhancements
- Installing Checkout Apps:
- Explore checkout apps from the Shopify App Store to enhance functionality. Checkout Blocks is a free app offering a range of simple customizations. Other apps can help grow conversions and increase average order value.
- Setting Up Additional First-Party Features:
- Review and implement supported Shopify features that match your previous checkout.liquid customizations.
Conclusion
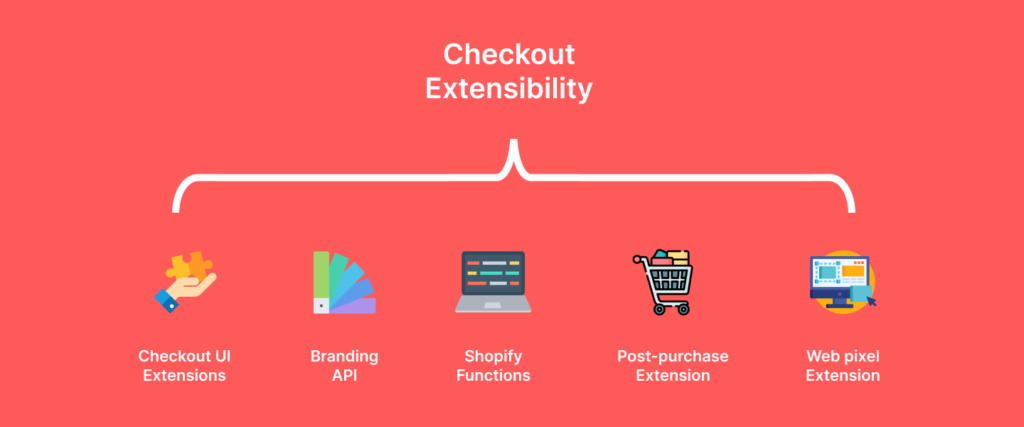
Upgrading to Shopify Checkout Extensibility can significantly enhance your e-commerce store’s checkout experience. By following the steps outlined above, you can smoothly transition from your existing customizations to a more flexible and powerful checkout system. Whether you’re using Shopify Scripts, building custom apps, or leveraging Checkout UI Extensions, the new tools available in Checkout Extensibility can help you create a checkout experience that delights customers and drives business growth.
Get started today and make the most of Shopify’s Checkout Extensibility to elevate your online store with Morosoft